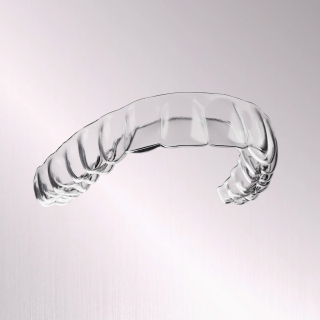
AirFlex™
The first FDA-cleared aligner system for 9 to 12 hours of continuous daily wear time.
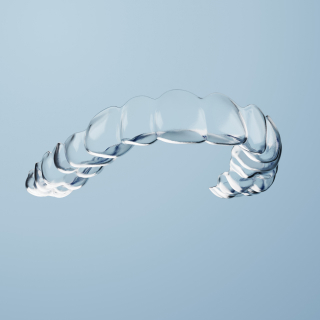
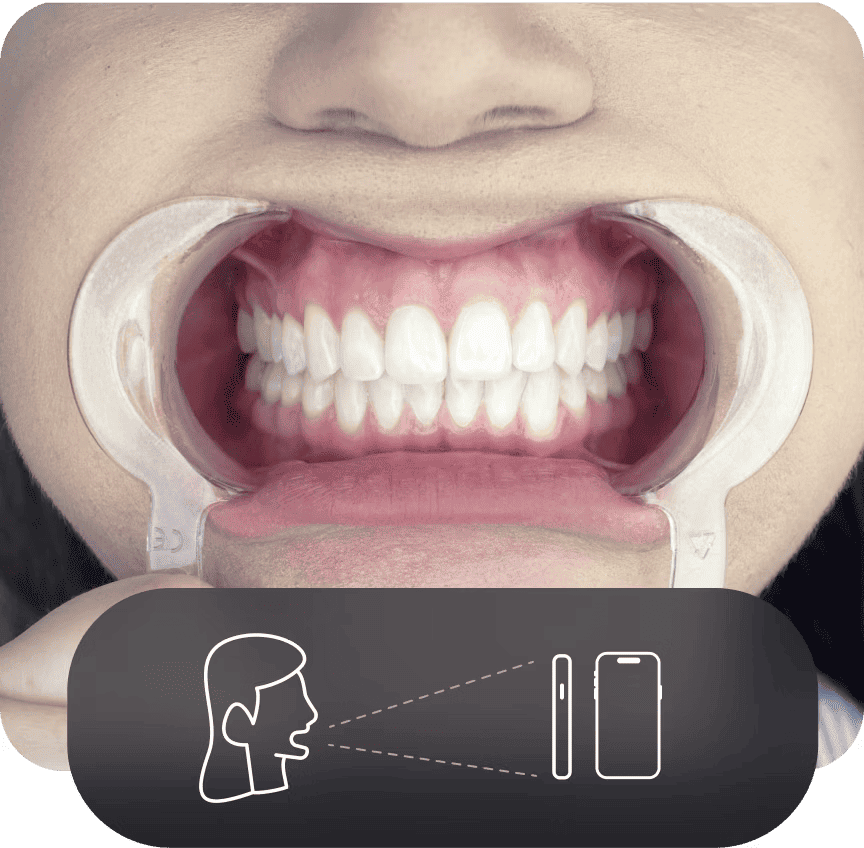
FXClear™
Combining advanced technology and remote monitoring to keep your treatment on track comfortably.
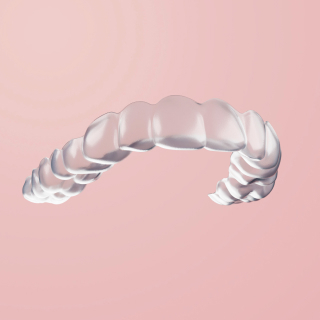
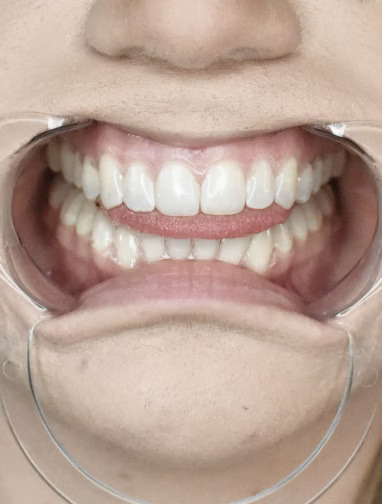
FXBright™
Enjoy effortless whiter teeth from the start of your orthodontic treatment.
FXRetainers
Keep your smile straighter and brighter for long-lasting results.
AirFlex™
The first FDA-cleared aligner system for 9 to 12 hours of continuous daily wear time.
FXClear™
Combining advanced technology and remote monitoring to keep your treatment on track comfortably.
FXBright™
Enjoy effortless whiter teeth from the start of your orthodontic treatment.
FXRetainers
Keep your smile straighter and brighter for long-lasting results.
FXPay™
Flexible payment plans to keep you covered.
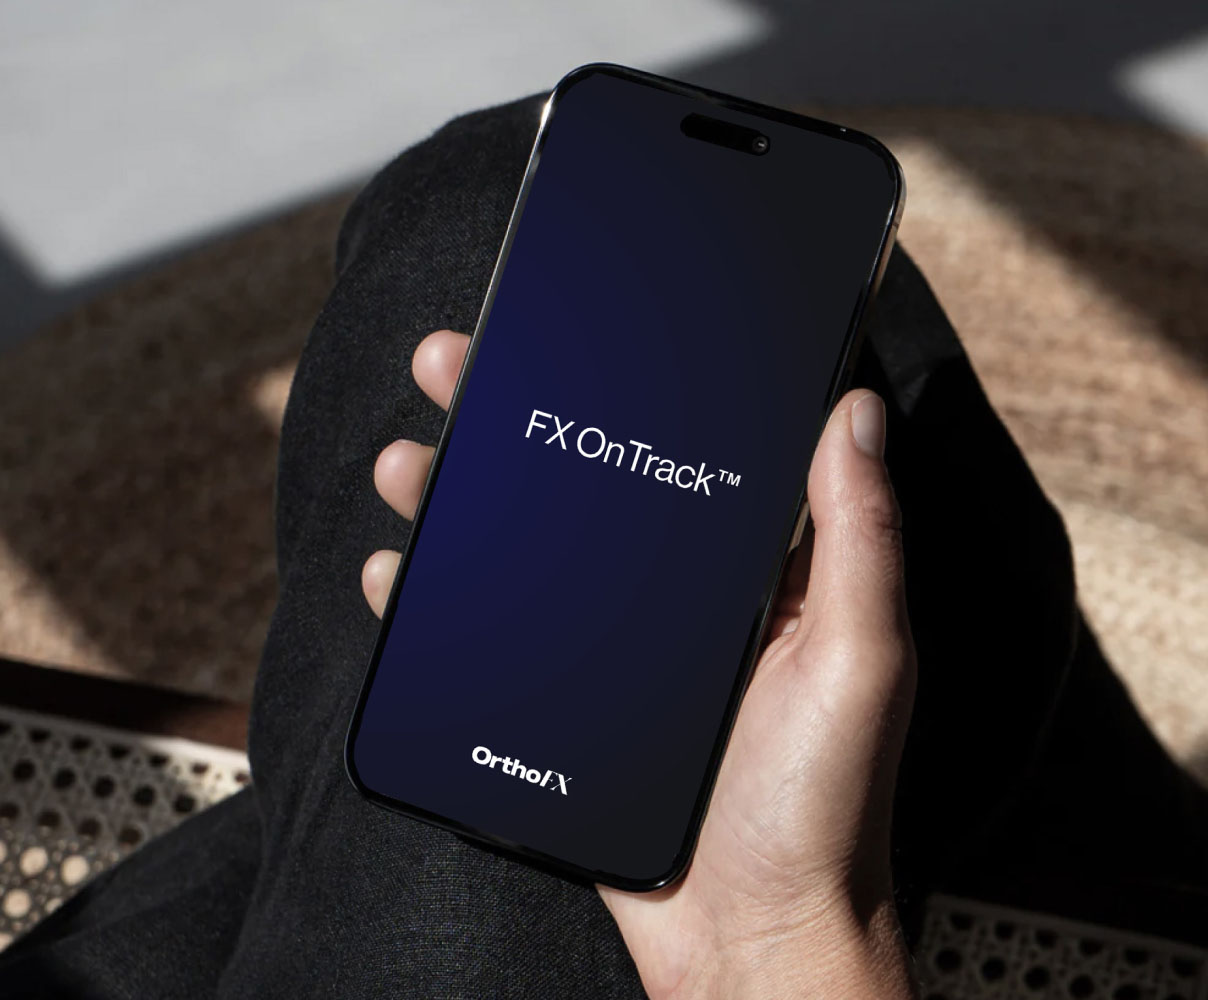
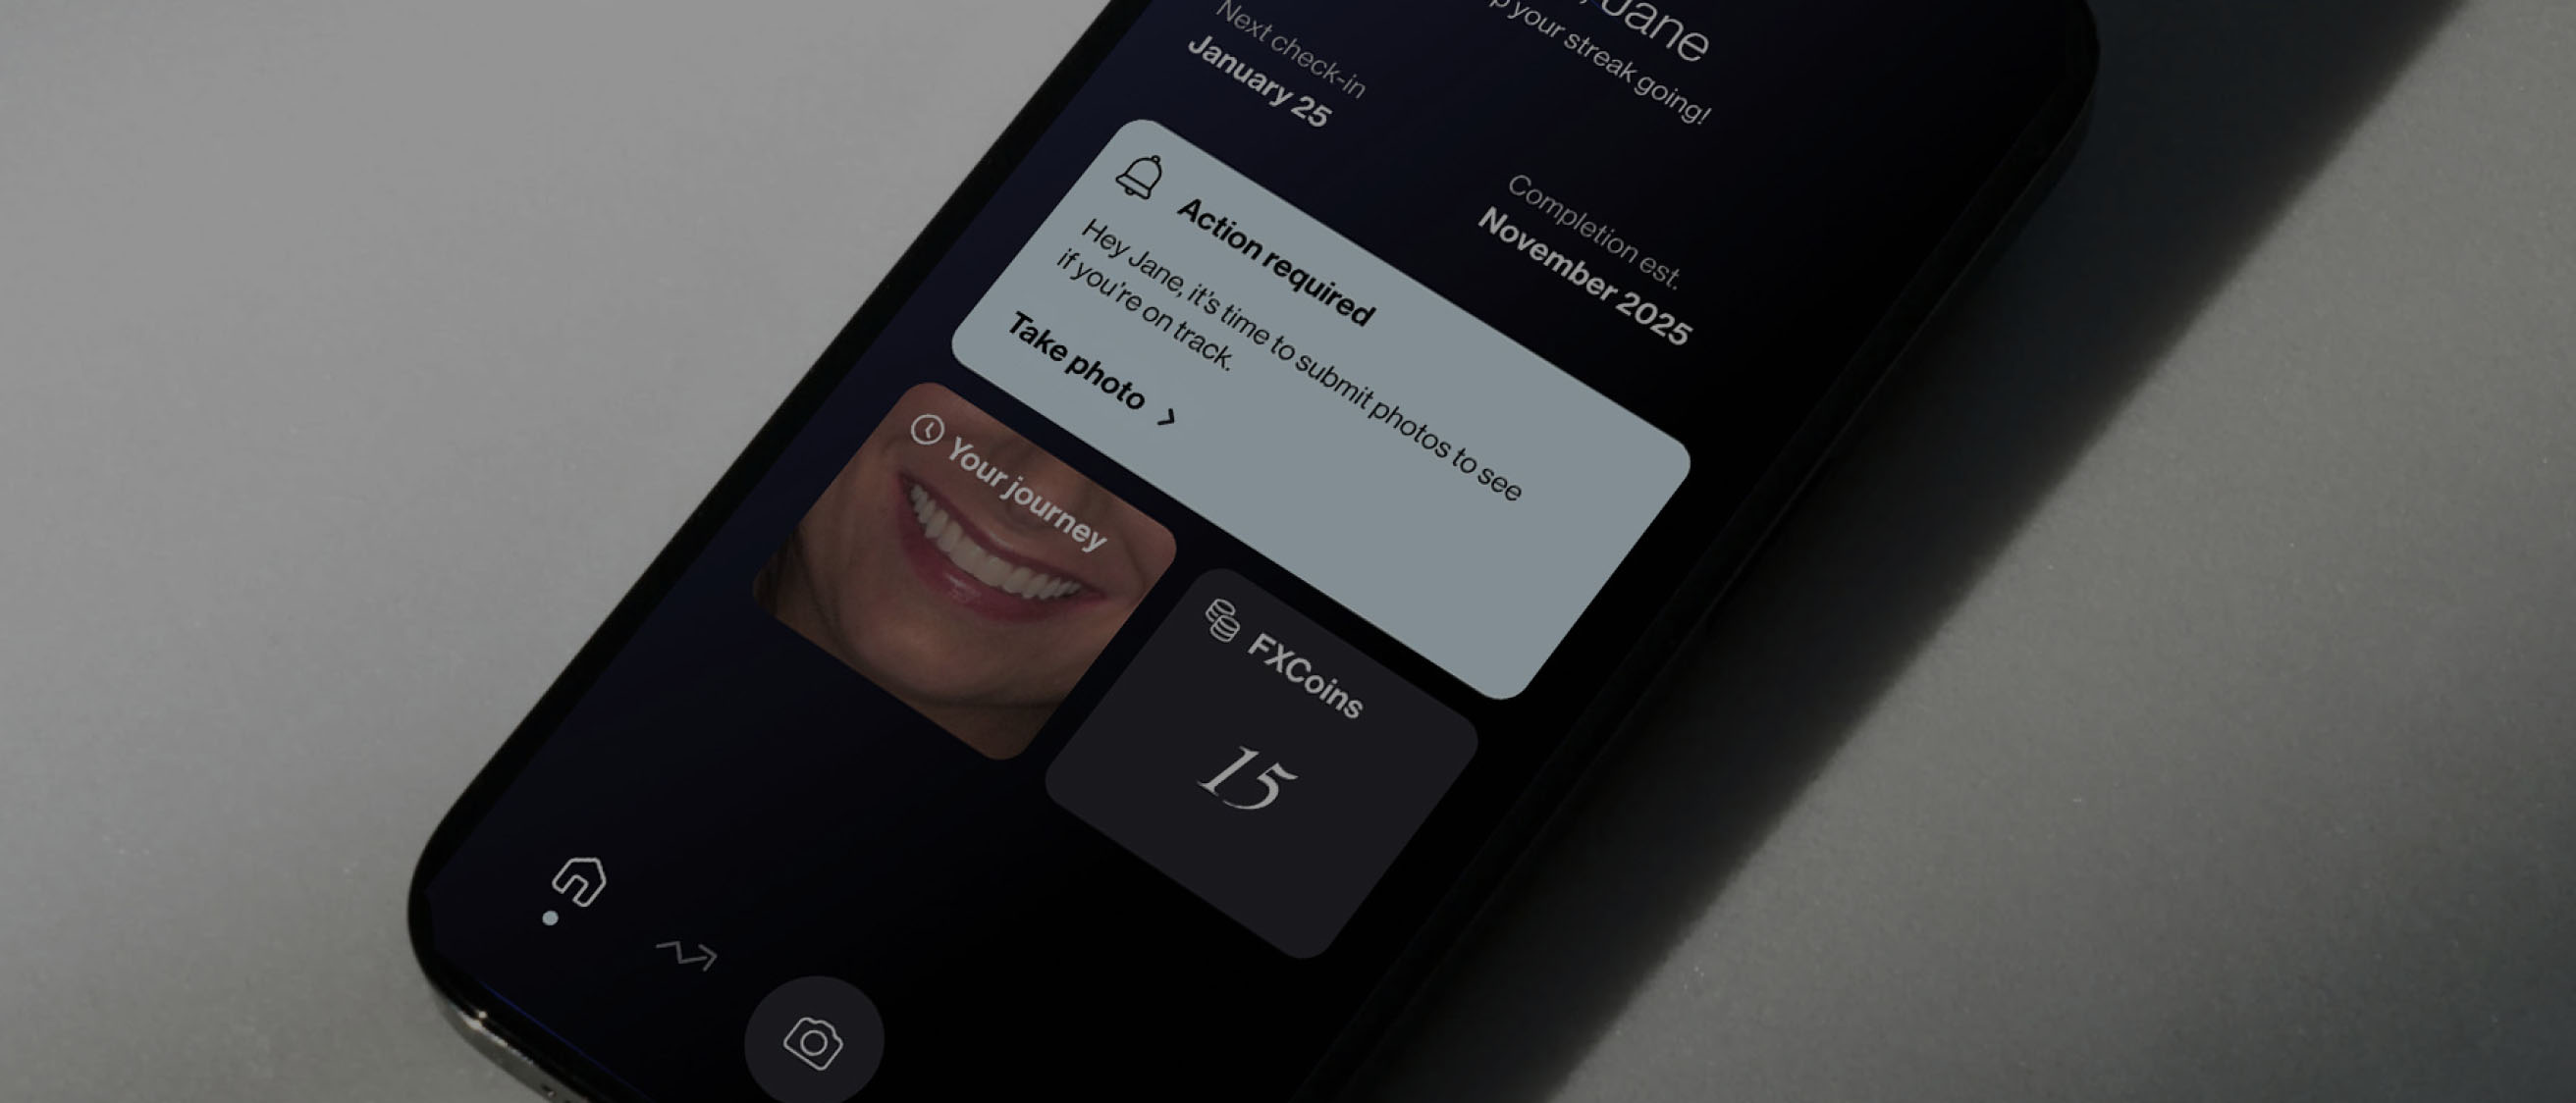
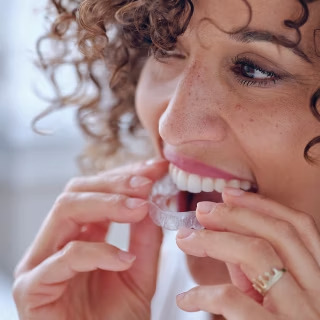
FXOnTrack™
AI-powered platform that enables your doctor to monitor your progress remotely.